
Last Updated: October 22, 2026
Quick Summary
To inspect multi-unit residential buildings requires a fundamentally different approach than single-family home inspections, combining systematic unit-by-unit evaluation with building-wide system analysis. You must assess dozens of units, shared mechanical systems, common areas, and complex building infrastructure while coordinating tenant access and managing logistics across multiple occupied homes.
- About 20,000 physical inspections of multifamily housing properties are conducted each year according to HUD data.
- Most jurisdictions require 24-48 hours’ notice for tenant inspections before accessing occupied units.
- Plan for 45-90 minutes per unit for thorough inspection, plus 4-8 hours for common area assessment.
- Use sampling of 15-20% of units strategically selected across different floors, exposures, and occupancy types when full coverage is impractical.
- Prioritize findings into three severity levels: critical safety hazards, major defects affecting livability, and minor cosmetic issues.
Table of Contents
- Why Inspecting Multi-Unit Residential Buildings Differs From Single-Family Homes
- The Multi-Family Building Inspection Process: A Step-by-Step Approach
- Multi-Family Property Inspection Checklist for Individual Units
- Common Area Inspection Checklist and Building Systems
- How Long Does a Multi-Unit Building Inspection Take?
- Deciding: Every Unit or Sampling Approach?
- Prioritizing Inspection Findings by Severity and Cost
- Frequently Asked Questions
Why Inspecting Multi-Unit Residential Buildings Differs From Single-Family Homes
To inspect multi-unit residential buildings requires a fundamentally different approach than single-family home inspections. According to HUD’s multifamily housing inspection data, about 20,000 physical inspections of multifamily housing properties are conducted each year, and each one demands careful coordination across multiple units and systems.
Single-family inspections focus on one property’s isolated systems. Multi-unit buildings introduce shared responsibility. A failing HVAC system affects everyone. A roof leak impacts multiple units. Plumbing runs through common walls. You must understand how individual unit problems connect to building-wide infrastructure.
Tenant access adds another layer. You can’t simply walk into occupied apartments unannounced. You need notice periods, coordination, and respect for privacy. Some units sit vacant. Others have long-term residents who need advance warning.
Inspecting multi-unit residential buildings often combines systematic unit-by-unit evaluation with building-wide system analysis. This dual focus can catch both isolated problems and systemic failures that single-family inspections might miss.
The Multi-Family Building Inspection Process: A Step-by-Step Approach
A structured process keeps multi-unit inspections organized and complete. Without one, you’ll miss units, duplicate work, or overlook shared systems entirely. The process has three main phases: planning, coordination, and systematic execution.
Step 1: Plan Your Inspection Scope and Unit Selection
Start by defining what you’re actually inspecting. Are you assessing all units or sampling a percentage? The answer depends on your purpose, timeline, and budget.
Define your inspection purpose first. Acquisition inspections demand 100% unit coverage. You’re evaluating the entire property’s condition before purchase. Routine maintenance inspections might sample 10-20% of units, focusing on common problem areas.
Decide on unit selection strategy. HUD’s NSPIRE protocol directs inspectors to sequentially number all assisted units in the rent roll, starting with the lowest unit number for each building.
Create a unit inventory. Document every unit’s location, occupancy status, access requirements, and known issues. This becomes your roadmap.
Step 2: Coordinate Tenant Access and Notifications
Multi-unit buildings are occupied homes. Respect that reality from day one.
Provide advance notice. Most jurisdictions require 24-48 hours’ notice for tenant inspections. Some require more. Check local requirements in your area. Send written notice that includes:
- Inspection date and time window
- Inspector name and credentials
- What areas will be inspected
- Why the inspection is happening
- Contact information for questions
Develop an access protocol. Decide whether you’ll use building management to unlock units or meet tenants individually. Building management is faster but less personal. Meeting tenants directly builds trust and allows you to ask about maintenance issues they’ve reported.
Schedule strategically. Group units by floor or section to minimize travel time. Schedule occupied units during daytime hours when tenants are more likely to be home. Vacant units can be inspected anytime.
Document access challenges. Some tenants won’t grant access. Some units are locked with no management key available. Note these in your report. They affect your ability to provide complete findings.
Step 3: Inspect Individual Units Systematically
Move through each unit using the same sequence every time. Consistency prevents missed items and speeds up the process.
Start with exterior entry. Check the door frame, locks, and weatherstripping before entering. Note damage or wear.
Follow a room-by-room path. Move clockwise through the unit or follow a consistent pattern.
Use a checklist. Don’t rely on memory. Mark items as you inspect them. This keeps you focused and creates documentation if disputes arise later.
Take photos of significant issues. Close-ups of damage, defects, or safety concerns become evidence. Photo timestamps and locations matter.
Note unit-specific details. Flooring type, appliance brands, paint condition, and fixture age vary unit to unit. Record these variations.
Multi-Family Property Inspection Checklist for Individual Units
Use this checklist to evaluate each apartment or unit consistently. Adapt it to your specific building type and inspection purpose.
|
Component |
What to Check |
Red Flags |
|---|---|---|
|
Doors & Locks |
Operation, frame condition, locks function |
Broken locks, damaged frames, stuck doors |
|
Windows |
Glass condition, operation, seals, locks |
Broken panes, failed seals, inoperable locks |
|
Walls & Paint |
Cracks, water stains, paint condition |
Large cracks, active water damage, peeling paint |
|
Flooring |
Condition, safety hazards, staining |
Rotten subflooring, trip hazards, mold stains |
|
Ceiling |
Water stains, sagging, cracks |
Active leaks, significant sagging, mold growth |
Interior Components to Evaluate
Doors and locks are the first line of security and safety. Test every door. Locks should operate smoothly. Doors should close completely.
Windows affect security, energy efficiency, and water intrusion. Open and close each one. Look for broken seals, fogging between panes indicates failed insulation.
Walls and paint reveal water damage and maintenance neglect. Look for cracks wider than a quarter-inch. Water stains indicate past or active leaks from above.
Flooring must be safe and dry. Look for soft spots that indicate rot. Check for trip hazards or warping.
Ceilings show water damage from above. Stains indicate leaks from the unit above or the roof. Sagging ceilings suggest structural or water problems.
Mechanical Systems and Utilities
Heating, ventilation, and air conditioning (HVAC) systems must function and be properly maintained. Check that the thermostat responds. Feel air coming from vents. Look for corrosion or damage to visible components.
Plumbing problems are expensive. Test all fixtures. Water should flow at normal pressure. Drains should empty without backing up. Look under sinks for leaks or water stains.
Electrical systems must be safe. Check outlets for proper grounding. Look for signs of burning or damage around switches. Count outlets, older units often have too few. Note the panel location and condition.
Smoke and carbon monoxide detectors are required by law. Check that they’re present and functional. Test them if possible. Missing or non-functional detectors are code violations.
Common Area Inspection Checklist and Building Systems
Common areas affect all residents. Defects here impact the entire building’s value and livability.
Exterior and Structural Elements
Roof condition determines how long the building stays dry. Walk the roof if safe and accessible. Look for missing shingles, cracked tiles, or deteriorated flashing. Moss or algae growth indicates moisture retention.
Building envelope, walls, siding, and cladding, keeps weather out. Look for cracks, gaps, or missing sections. Water stains on exterior walls indicate interior leaks.
Foundation and structure are the building’s backbone. Look for cracks in concrete or brick. Horizontal cracks are more serious than vertical ones. Bowing or leaning walls indicate structural movement.
Doors, windows, and entry points must be secure and functional. Test exterior doors. Check that locks work. Look for broken glass or damaged frames. Weatherstripping should seal gaps.
Shared Mechanical and Safety Systems
Fire suppression systems protect lives. Check that sprinkler heads are unobstructed. Look for corrosion or damage to pipes.
Electrical systems serving common areas must be adequate. Verify that the main panel is properly labeled.
HVAC systems for common areas should function properly. Check that lobby or hallway heating and cooling respond to temperature changes.
Plumbing for common areas includes fire suppression risers, toilet supply lines in hallways, and drainage systems. Check for leaks or corrosion.
Pest evidence indicates infestation or poor maintenance. Look for droppings, dead insects, or gnaw marks.
How Long Does a Multi-Unit Building Inspection Take?
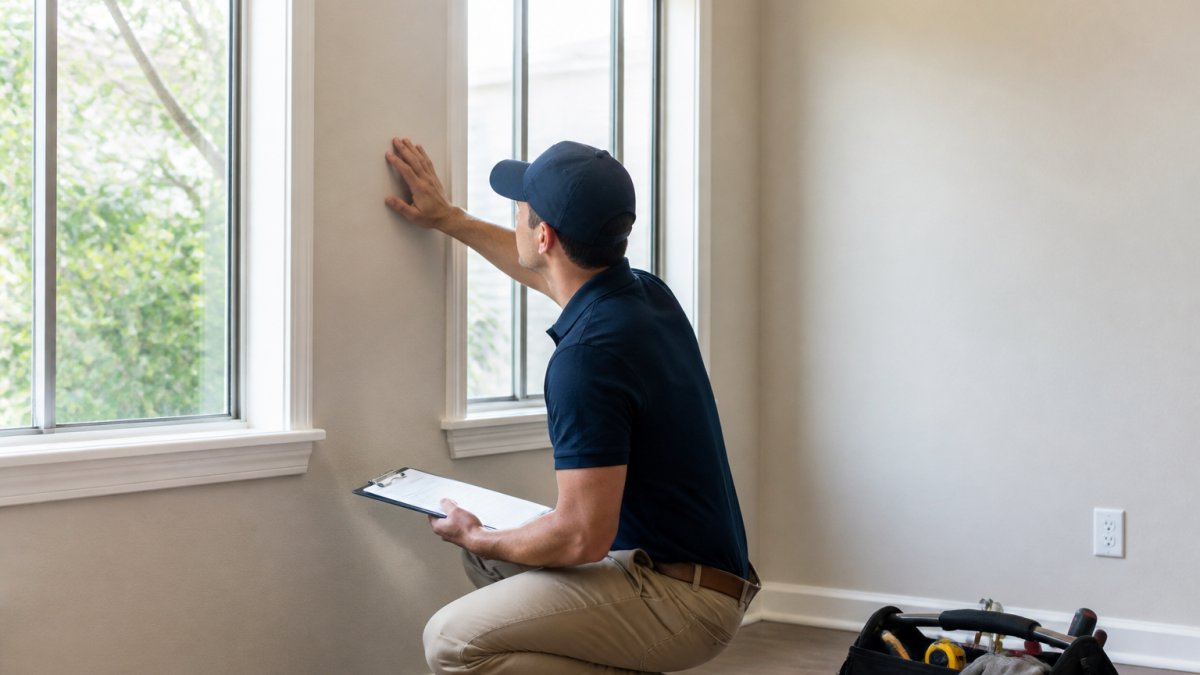
Inspection duration depends on building size, unit count, and access availability. A 12-unit building with all units accessible might take 2-3 days. A 50-unit building with occupied units and access restrictions could take 1-2 weeks.
Factor in these variables:
- Number of units to inspect (100% coverage takes longer than sampling)
- Unit size and complexity (studios are faster than 3-bedroom units)
- Access availability (vacant units are quicker than coordinating with tenants)
- Building age and condition (newer buildings with fewer defects move faster)
- System complexity (older buildings with more issues take longer to document)
Plan for 45-90 minutes per unit for thorough inspection. Add time for common area assessment, typically 4-8 hours depending on building size. Add coordination time, scheduling, tenant communication, and access management.
Don’t rush the process. Hurried inspections miss defects. Budget enough time to do the job right.
Deciding: Every Unit or Sampling Approach?
The choice between 100% unit coverage and sampling depends on your inspection purpose and constraints.
Inspect every unit when:
- You’re evaluating a property for purchase (acquisition due diligence)
- The property has code violations you’re verifying
- The building is small enough that 100% coverage is practical
- The client specifically requires complete coverage
- You’re identifying insurance or financing issues
Use sampling when:
- You’re conducting routine maintenance inspections
- The building is large and budget is limited
- You’re assessing general condition trends
- Time constraints prevent full coverage
- The client accepts statistical sampling
Sampling requires strategy. Don’t just inspect the first five units. Select units across:
- Different floors (top, middle, bottom)
- Different exposures (corner units, interior units, north-facing, south-facing)
- Different occupancy types (studios, one-bedrooms, two-bedrooms)
- Different ages if units were renovated at different times
This distribution captures variation across the building. A sample of 15-20% of units, strategically selected, provides reasonable confidence in building-wide condition.
Prioritizing Inspection Findings by Severity and Cost
Not all defects are equal. Prioritize findings by severity and cost to guide repair decisions.
Severity levels:
- Critical: Safety hazards or immediate threats (active electrical hazards, gas leaks, structural failure, broken locks on exterior doors)
- Major: Significant defects affecting livability or property value (roof leaks, failed HVAC, plumbing backups, mold growth)
- Minor: Cosmetic or low-impact issues (paint peeling, caulking gaps, worn fixtures)
Cost tiers:
- High-cost repairs: Roof replacement ($15,000-$50,000+), foundation work, major electrical or plumbing ($5,000-$20,000)
- Moderate-cost repairs: HVAC replacement ($3,000-$8,000), window replacement, siding repair ($2,000-$10,000)
- Low-cost repairs: Caulking, paint, minor plumbing fixes (under $1,000)
Create a prioritized repair list that addresses critical safety issues first, then major defects affecting property value, then cosmetic improvements. This helps owners budget and plan work logically.
Inspecting multi-unit residential buildings requires more than checking individual apartments. You’re evaluating interconnected systems, managing tenant relationships, and documenting building-wide conditions that affect everyone. The process demands organization, attention to detail, and respect for occupied homes. When you need a thorough assessment that combines systematic unit evaluation with advanced detection technology, Zenith Property Inspections brings certified expertise and precision tools, including drone technology and thermal imaging, to provide same-day reports that help confident decisions.
Frequently Asked Questions
What does a multi-unit residential building inspection include?
A multi-unit residential building inspection covers individual units, common areas, building systems, and structural elements. Individual units include walls, flooring, doors, windows, locks, plumbing, electrical outlets, HVAC, and appliances. Common areas include lobbies, hallways, stairs, roofing, siding, foundation, fire safety equipment, and shared mechanical systems. HUD conducts about 20,000 physical inspections of multifamily housing properties annually, evaluating property condition across all these categories.
Do inspectors inspect every unit in a multi-family property?
It depends on the inspection purpose and property size. HUD’s NSPIRE protocol requires inspectors to evaluate 100% of assisted units in federally subsidized properties. For acquisition due diligence or capital needs assessment, a sampling approach may be used, typically inspecting 10-25% of units plus all common areas. Routine maintenance inspections often focus on reported issues or a rotating sample. Your inspection scope should align with your property goals and local requirements.
How long does a multi-unit building inspection take?
Timeline depends on building size, unit count, and inspection depth. A 20-unit building with 100% unit inspection typically takes 2-4 days. A 50-unit building may require 5-8 days. Sampling approaches (inspecting 15-20% of units) reduce time by 40-50%. Common area inspection adds 4-8 hours regardless of unit count.
What are the most common problems found during multi-family property inspections?
Frequent findings include roof leaks and deterioration, foundation cracks, HVAC system failures, plumbing leaks and water damage, electrical system deficiencies, pest evidence and rodent entry points, mold and moisture issues, paint deterioration, window and door seal failures, and fire safety code violations. Prioritizing these areas during inspection reveals the most costly repair needs.
